
What We See on Move-In Week Calls
A new homeowner calls a few days after closing. The garage door worked fine during the walkthrough, but now it's grinding, the remote is hit-or-miss, or the door won't close all the way. On the call, we usually find the same thing: a spring near the end of its life, rollers that were never replaced since the house was built, or a bottom seal that's been letting water in every time it rains. None of it showed up on the inspection report, because a general home inspector checks whether the door opens and closes — not whether it's built for coastal humidity, salt air, or the wind loads that come with hurricane season here.
If you're under contract or just moved in, walk through this list yourself. It takes about fifteen minutes and tells you more than most inspection reports do.
The Walk-Through Checklist
1. Spring Condition and Age
Look at the spring (or springs) above the door. Check for visible rust, gaps between coils, or a spring that looks stretched compared to its neighbor. Springs in this climate corrode faster than inland because of humidity and, closer to the water, salt air. A spring that looks original to an older house is a near-term repair you should factor into your budget.
2. Track Alignment and Rust
Run your eyes down both tracks from top to bottom. They should be straight, tightly bolted, and free of heavy rust or dents. A track that's bowed or pulling away from the wall usually means the door has been forced off-track before, even if it's running fine now. Surface rust near the bottom is common in this climate; flaking rust or rust that's eaten into the metal is not something to ignore.
3. Rollers
Open and close the door slowly and listen. Grinding or popping usually means worn rollers. Check if they're metal, plastic, or nylon — plastic rollers wear out fastest and are the cheapest to replace, but if nobody's touched them in years, that's a maintenance gap worth noting.
4. Panel Condition, Especially at the Bottom
Afternoon downpours mean water pools at the base of garage doors more than people expect. Check the bottom panel for rust bubbling under the paint, soft spots, or swelling if it's a wood composite door. This is one of the most commonly missed items because it's low and easy to glance past during a walkthrough.
5. Weatherstripping and Bottom Seal
Flex the rubber seal along the bottom of the door. If it's cracked, flattened, or pulling away from the track, water and humidity are getting into the garage every time it rains. This matters more here than in drier climates — it's a direct line to moisture damage on anything stored near the garage floor.
6. Opener Age and Safety Features
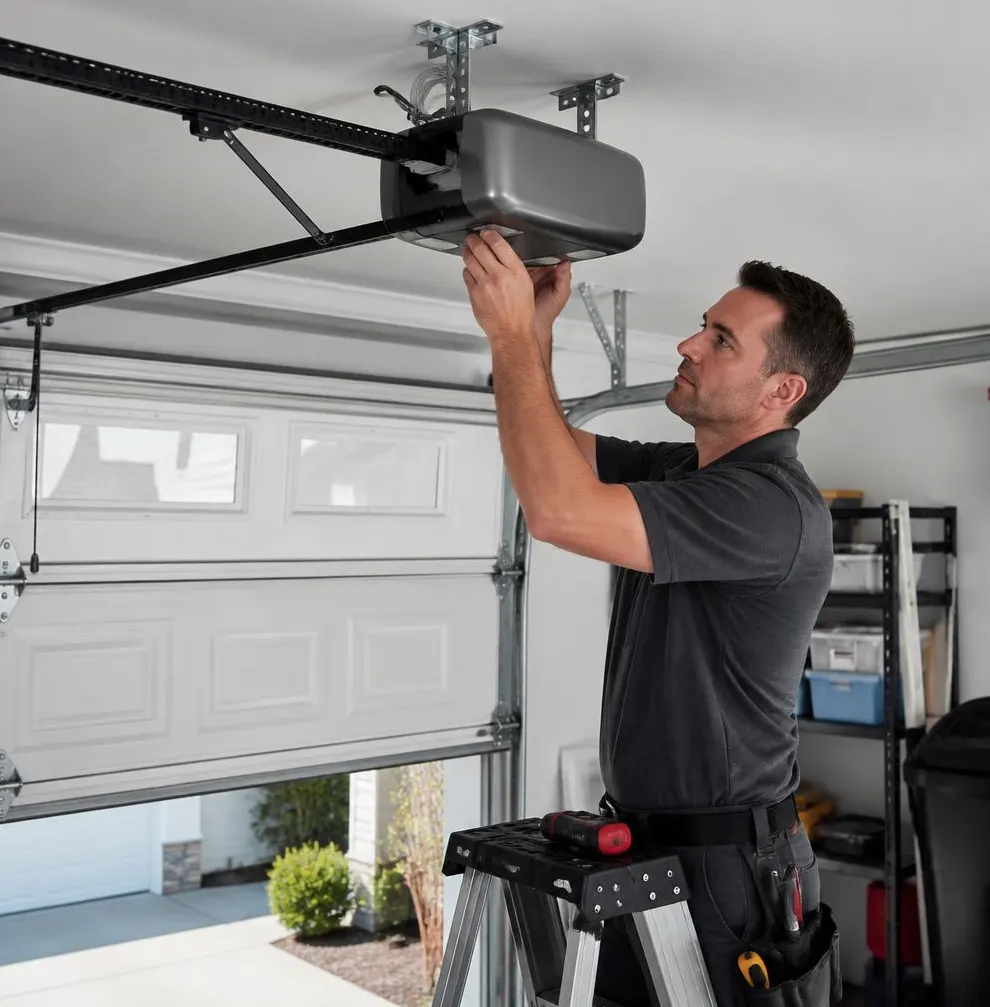
Find the opener's manufacture date, usually on a sticker on the housing. Test the auto-reverse safety feature by placing a block of wood in the door's path and closing it — it should reverse immediately on contact. Also check if there's a battery backup unit. Power blips during storm season are common, and a battery backup means you're not stuck with a door you can't open by hand during a blackout.
7. Wind-Load Bracing
Look at the back of the door for horizontal struts bolted across the panels. These matter in a hurricane-prone area — a door without reinforcement is more vulnerable to wind pressure during a storm. If you can't tell whether the door is wind-rated, this is worth asking the seller or a technician about directly, since it's not something a standard inspection checklist always covers.
8. Door Weight vs. Spring Size
If the door feels unusually heavy to lift manually (with the opener disconnected), or if it won't stay open halfway on its own, the spring may be undersized for the door. This is a common issue on doors that have been swapped out or upgraded without updating the spring to match.
9. Remote, Keypad, and Sensor Function
Test every remote and the keypad, not just one. Check that the photo-eye sensors near the floor are aligned and not corroded — salt air and moisture can affect the sensor housings over time, especially closer to the beach.
Why General Inspectors Miss This
Most home inspectors confirm the door opens, closes, and reverses once. They're not spending time on spring cycle life, wind-load bracing, or how a bottom seal will hold up through another rainy season. That's a specialty check, not a general one — which is exactly why so many new owners end up calling a garage door company within the first few months of moving in.
When to Call Clearwater Door & Opener
If you've gone through this checklist and found a spring that looks questionable, a door that's heavier than it should be, or panels showing early rust, it's worth having a technician take a closer look before you're dealing with a door that won't open on a Saturday morning. We handle Garage Door Spring Repair and Garage Door Maintenance & Tune-Up calls for new homeowners regularly, and a tune-up visit is also a good way to get an honest read on what's original to the house versus what's already been replaced.
If you just bought a home in Clearwater, Clearwater Beach, Dunedin, Palm Harbor, Safety Harbor, Largo, Tarpon Springs, or Oldsmar and want a second opinion on your garage door before storm season catches you off guard, give Clearwater Door & Opener a call. We'll walk the door with you and tell you straight what needs attention now and what can wait.